
Create and set up a workspace
Set your company details and enable the modules you need for your first sale.
- Who can do this
- Workspace administrator
- Before you start
- Access to the Cirrofy preview.
Steps
If you’re waiting for access, join the preview. Once you have access, sign in to Cirrofy. This guide uses a fictional company called Bluepeak Fabrication. In your own workspace, use your business’s details.
- If Cirrofy opens the setup wizard for your first workspace, start there. To add a workspace from the launcher, select New workspace on Your Workspaces, enter a workspace name. Cirrofy fills the Slug field automatically. Select Create workspace.
- In Organization & Localization, confirm the company name, country, base currency, timezone, and month your fiscal year starts. Base currency is the workspace’s primary currency, timezone sets the workspace’s local time, and the fiscal-year start marks the first month of your accounting year. For this walkthrough, Bluepeak uses the United States, USD, the America/New_York timezone, and a January fiscal-year start. Bluepeak chooses Job Shop / Custom Fabrication as its business type. Cirrofy uses it to suggest modules. Select Next.
- In Choose your modules, keep Partners, Catalog, and Sales enabled for this guide. Select Next.
- In Getting started, select Complete Setup. Open the workspace Dashboard if the launcher appears. You’ll invite your first teammate in the next lesson.
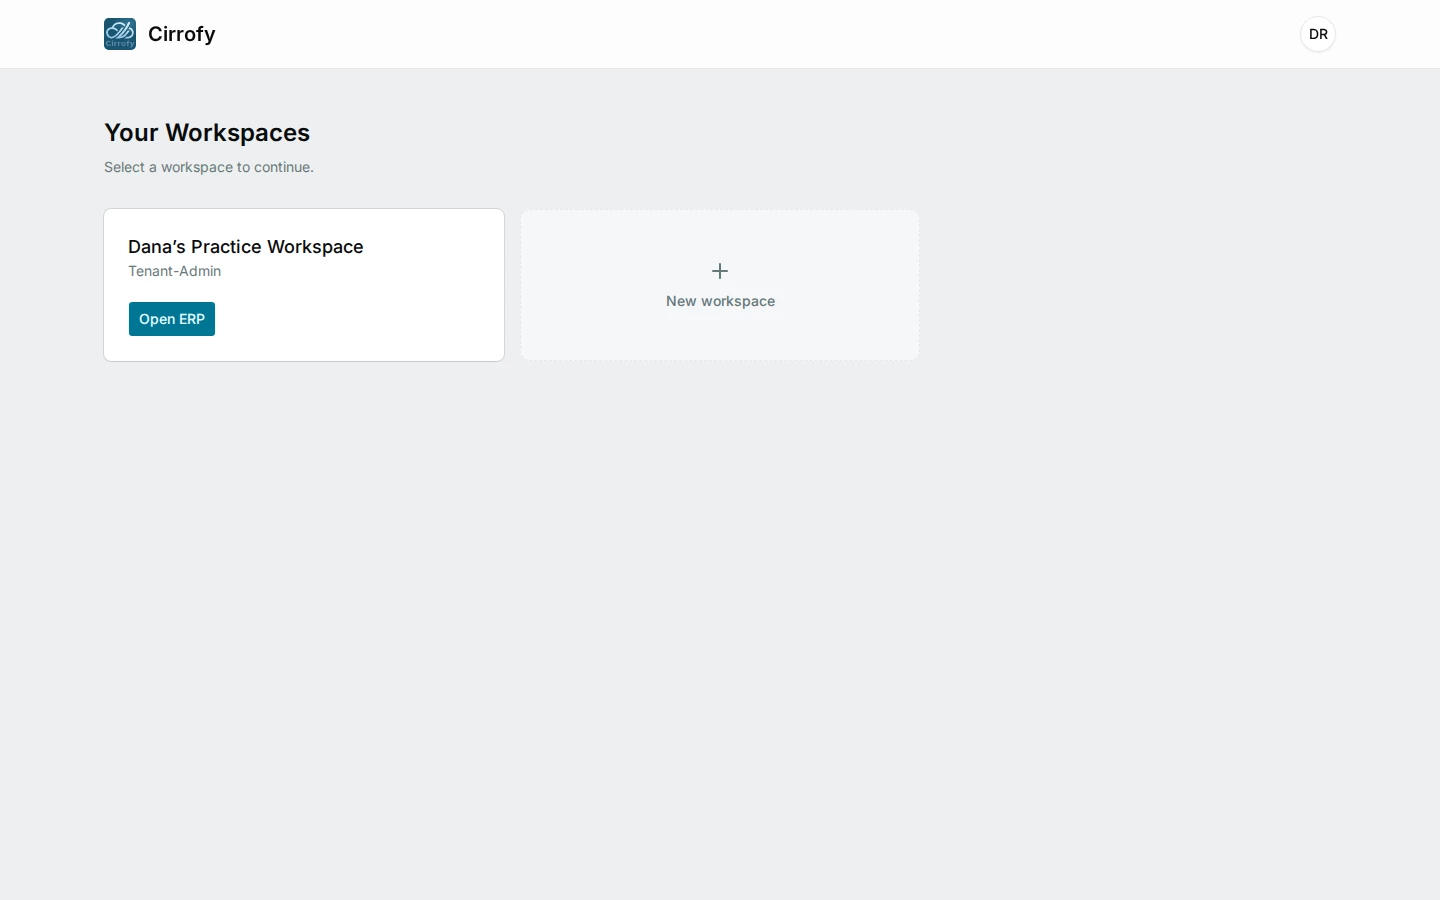
What you’ll see
Your workspace opens to the Dashboard with Partners, Catalog and Sales available.